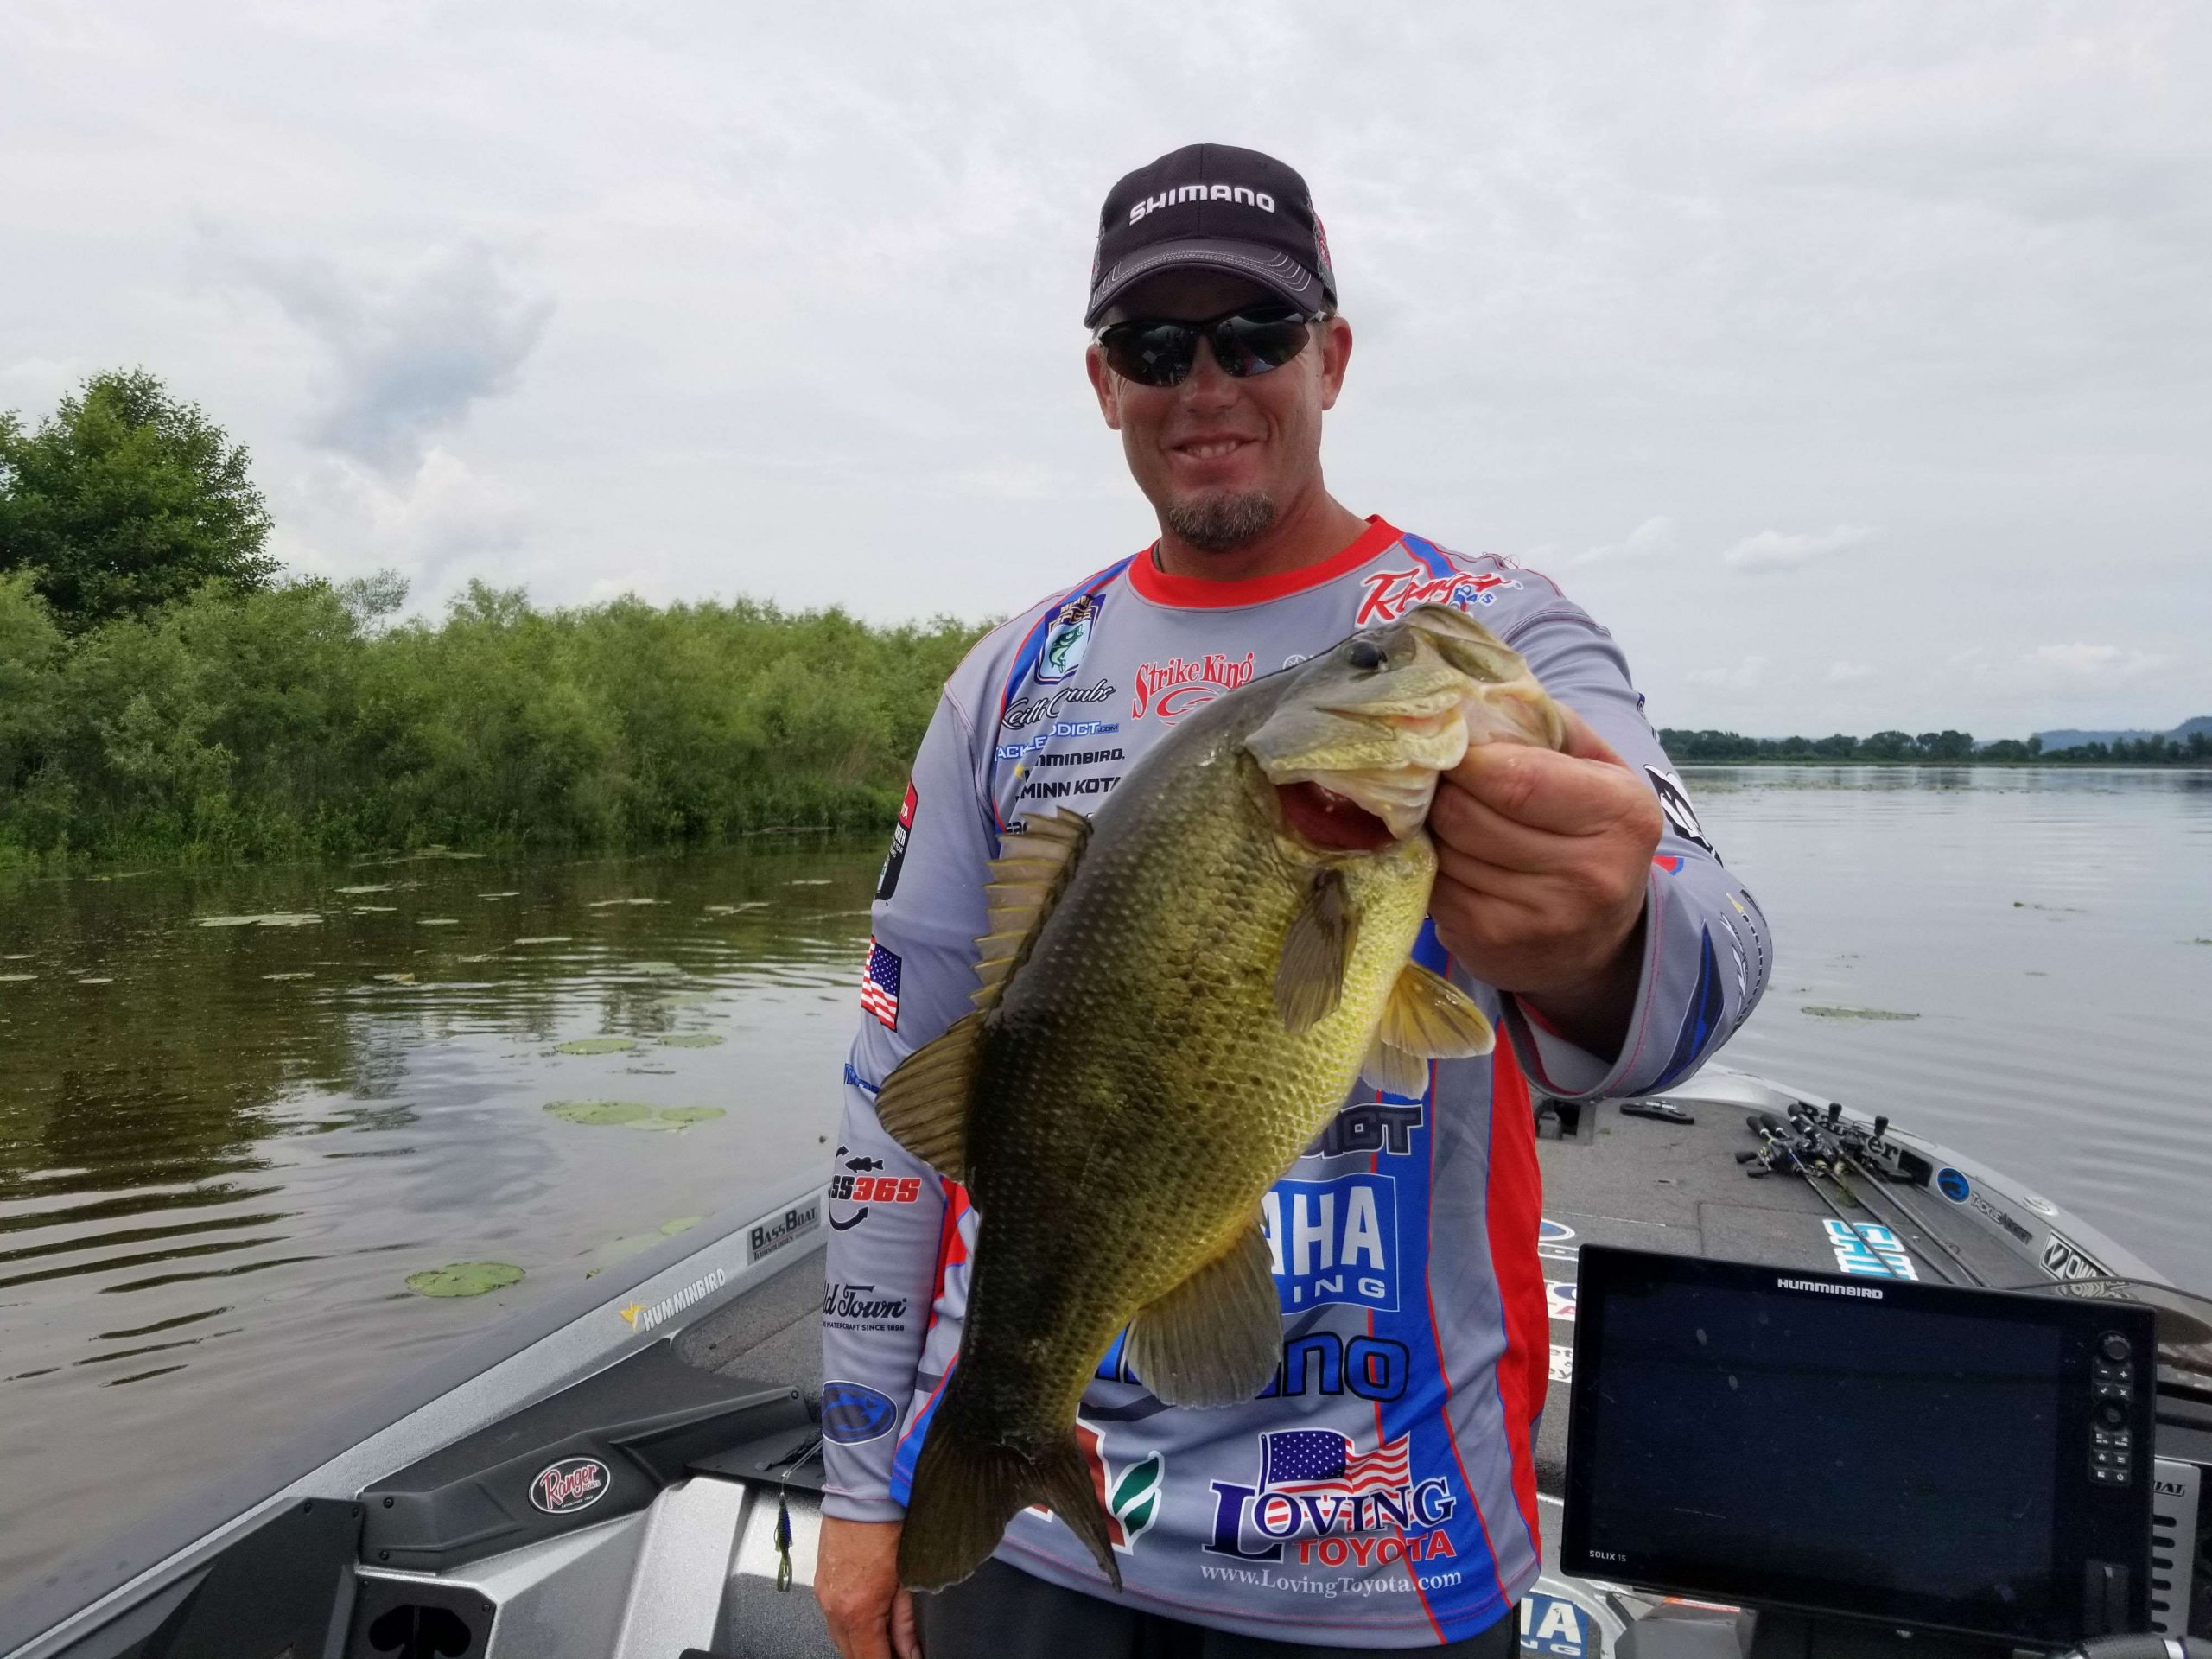
It’s no secret that I’m a marine electronics addict. I can spend hours with my face buried in my Humminbird graphs, looking to gain a better understanding of a lake, or learning some little fact that will provide me with a competitive edge. Over the years a lot of fans have hit me up with questions about how I set up my units on social media and at seminars. On occasion I’ve even hopped in the boat with a few of them to demonstrate what I think will work best.
Today’s modern screens give you plenty of options, but I find that the biggest problem people have is that they don’t know which beam to run. It’s a common misconception that down-imaging and two-dimensional sonar show the same thing, but they definitely do not. Add in side imaging, an additional tool, and you’ll have three different but related views of your surroundings.
I run four graphs, two Humminbird Solixes and two Helixes, one of each on the console and one of each on the bow. I know that’s not feasible for many of you, but if you only have one graph in each location it makes your choices all that much more important.
On the console, there aren’t a lot of advantages to using two-dimensional sonar when you’re idling. That’s when side-imaging and down-imaging are most useful, because they work best at speeds below 6 miles per hour, the slower the better. I’ll switch to sonar there when I’m running because my transducer is mounted in the hull, so it will continue to work at higher speeds.
We’ve been taught for decades that sonar puts out a cone-shaped beam, which gets wider as it gets down further. Down-imaging, on the other hand, is not a traditional cone. Instead, it uses a wider beam to show you a broad slice of the water under most settings. That means when you’re moving forward at slow speeds down-imaging will show you more. You don’t need to see what’s in front of the boat because you’ll be there in a few seconds.
On the front of the boat, I always run two-dimensional sonar. I may run down-imaging, too, because sometimes you notice fish or bait on one and not the other. The sonar beam not only gets bigger as it goes down, but it also provides information both ahead and behind the boat.
I’ve also incorporated the 360 technology into my fishing. It’s a common misconception that it’s not an effective tool in shallow water, but I’ve found the opposite to be true – I’ve used it to find stumps 20 feet in front of the boat as well as bream beds and bass beds. I don’t use it all the time, because when I’m in heavy grass or thick stands of timber it can be a matter of information overload, but when I’m looking for isolated objects nothing beats it. Once again, it’s a matter of understanding what you are looking at. I usually don’t set the beam to sweep a full 360 degrees – instead I focus on a moon-shaped area in front of and to the side of the boat.
No matter what graphs you’re using, the key is to maximize their features so you’re taking in the most information that you can get. Up front, I split my screens to give me sonar, down-imaging, mapping and 360. At the console, I almost always start with mapping, down-imaging and side-imaging. Your preferences might be different, but this is the mix that gives me the best visual picture of my surroundings.
I mix the Solix and Helix units because each has its own advantages. I love the simplicity of the Helix, but the Solix offers different levels of clarity, speed and touch-screen convenience. One may work better than the other for you, so make sure that the balance of user-friendliness to features suits the way you fish. I could run whatever I want, and I choose to have two of each, but that doesn’t mean it’s the right solution for you. The only advice I can definitively give you is to spend as much as you can comfortably afford, and then really spend the time learning your equipment’s features. Modern electronics provide an incredible shortcut to figuring out a new lake (or even one you’ve fished for years), but those benefits aren’t completely unlocked until you understand what you’re seeing.

