Keeping your bass boat alive, part 9

Mark Hicks adds several accessories to help increase efficiency, ensure that the bass stay healthy, prevent mishaps and improve safety.

<em>All photos and captions by Mark Hicks</em><p>
<em>MUST-HAVE ADDITIONS</em><br>
I added several accessories to my old bass boat that I feel are must-have items, especially for tournament fishing. Together they increase efficiency, ensure that my bass stay healthy, prevent mishaps and improve safety.<p>
A Hot Foot foot throttle is helpful for safe boating because it allows you to keep both hands on the wheel at all times. I found a place under the driver’s console where I could install it without poking holes in my boat’s hull.
All photos and captions by Mark Hicks
MUST-HAVE ADDITIONS
I added several accessories to my old bass boat that I feel are must-have items, especially for tournament fishing. Together they increase efficiency, ensure that my bass stay healthy, prevent mishaps and improve safety.
A Hot Foot foot throttle is helpful for safe boating because it allows you to keep both hands on the wheel at all times. I found a place under the driver’s console where I could install it without poking holes in my boat’s hull.
Remove the throttle cable from the shift lever and the outboard. Buy a cable for your specific outboard that is 2 to 3 feet longer than the one you remove.
Attach the new cable to the outboard and thread it behind and past the shift lever to the foot throttle. Attach the cable to the foot throttle and insert the throttle into the base. Adjust the pedal so it stops when the carburetors are wide open. Any more tension than that could cause problems.
An oxygenation system creates a super-saturated oxygen environment in your livewell by splitting the hydrogen molecules from the oxygen molecule in water.
Drill a 2-inch hole in the lowest place you can reach in your livewell.
Place the o-ring on the back of the device and insert it into the hole you drilled inside the livewell.
On the outside of the livewell, tighten the plastic nut securely to prevent leakage. I attached 14-gauge wire to the leads from the unit and connected them to an accessory switch on my console.
Searching for tools like scissors and needlenose pliers is a huge time waster in a tournament. I eliminated that problem by securing Rapala’s Magnetic Tool Holder Combo 2 to the side of my passenger console.
Next I locked down my trolling motor with a stabilizer. You must drill a 7/16-inch hole through the top of your trolling motor bracket to attach the stabilizer.
When the trolling motor is stowed, the Troll-Tamer locks into its base, which is fixed to the boat’s deck with screws. You push a lever on the base to release the motor when you want to lift it.
There’s never a good time to have a trolling motor rope break, so get rid of it and replace it with a cable G-Force Trolling Motor Handle from T-H Marine.
Remove the stock rope and attach the new cable in the same fashion as the original rope.
There are times when I want to run the livewell’s fill pump on a timer. My boat didn’t have a timer, so I installed T-H Marine’s Automatic Aerator Control switch. I fabricated a base for the switch from scrap plastic. It covers a hole in my console left by a broken in-dash flasher that I removed and trashed.
T-H Marine’s G-Force Cull System makes quick work of culling. The system sticks under the livewell lid and includes a balance beam.
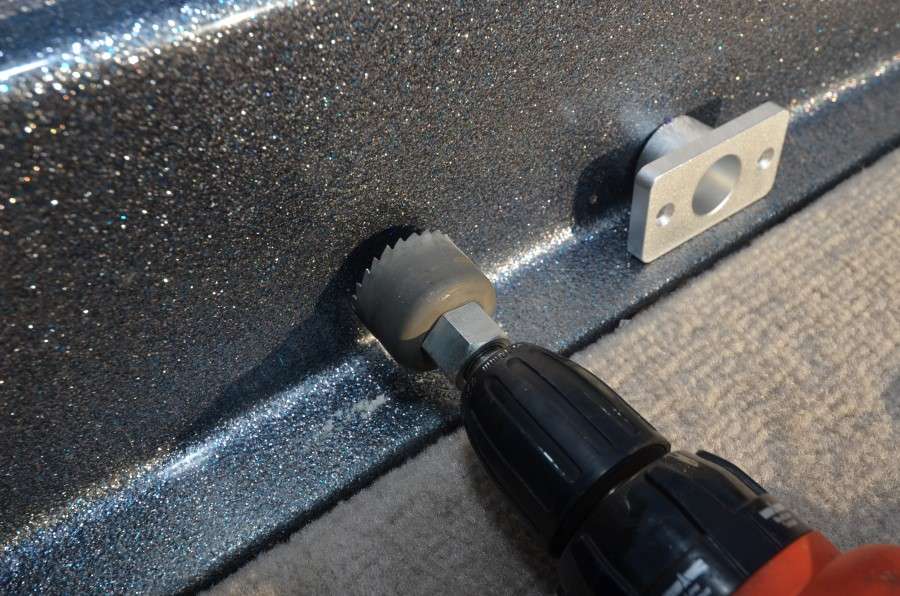
I made life harder for potential thieves with the Loc-R-Bar Alarm System. Begin by drilling a 1 3/8-inch hole on each side of the deck.
After securing the aluminum bases to the holes with stainless steel screws, extend the two-piece, telescopic bar so it fits into the bases on both sides.