Hiking is not only great exercise, but it also allows us to push our limits and get outside of our comfort zone. Sometimes on the trail, it can push us too far outside of our comfort zone and lead to blisters. Blisters on the trail aren’t just an annoyance; if left unattended, they can lead to serious complications. However, with a little prevention and first aid, hiking can be an enjoyable experience.

Prevention of blisters is key and starts many miles before your hike. It is important to match the hiking terrain to your footwear. If you are hiking on uneven, rocky terrain, your footwear will need to be sturdier with a harder sole. If you are hiking on even dirt or in grass, you may be able to get by with even a sturdy sandal. In both situations, it is important to break in your hiking gear long before the actual hike.

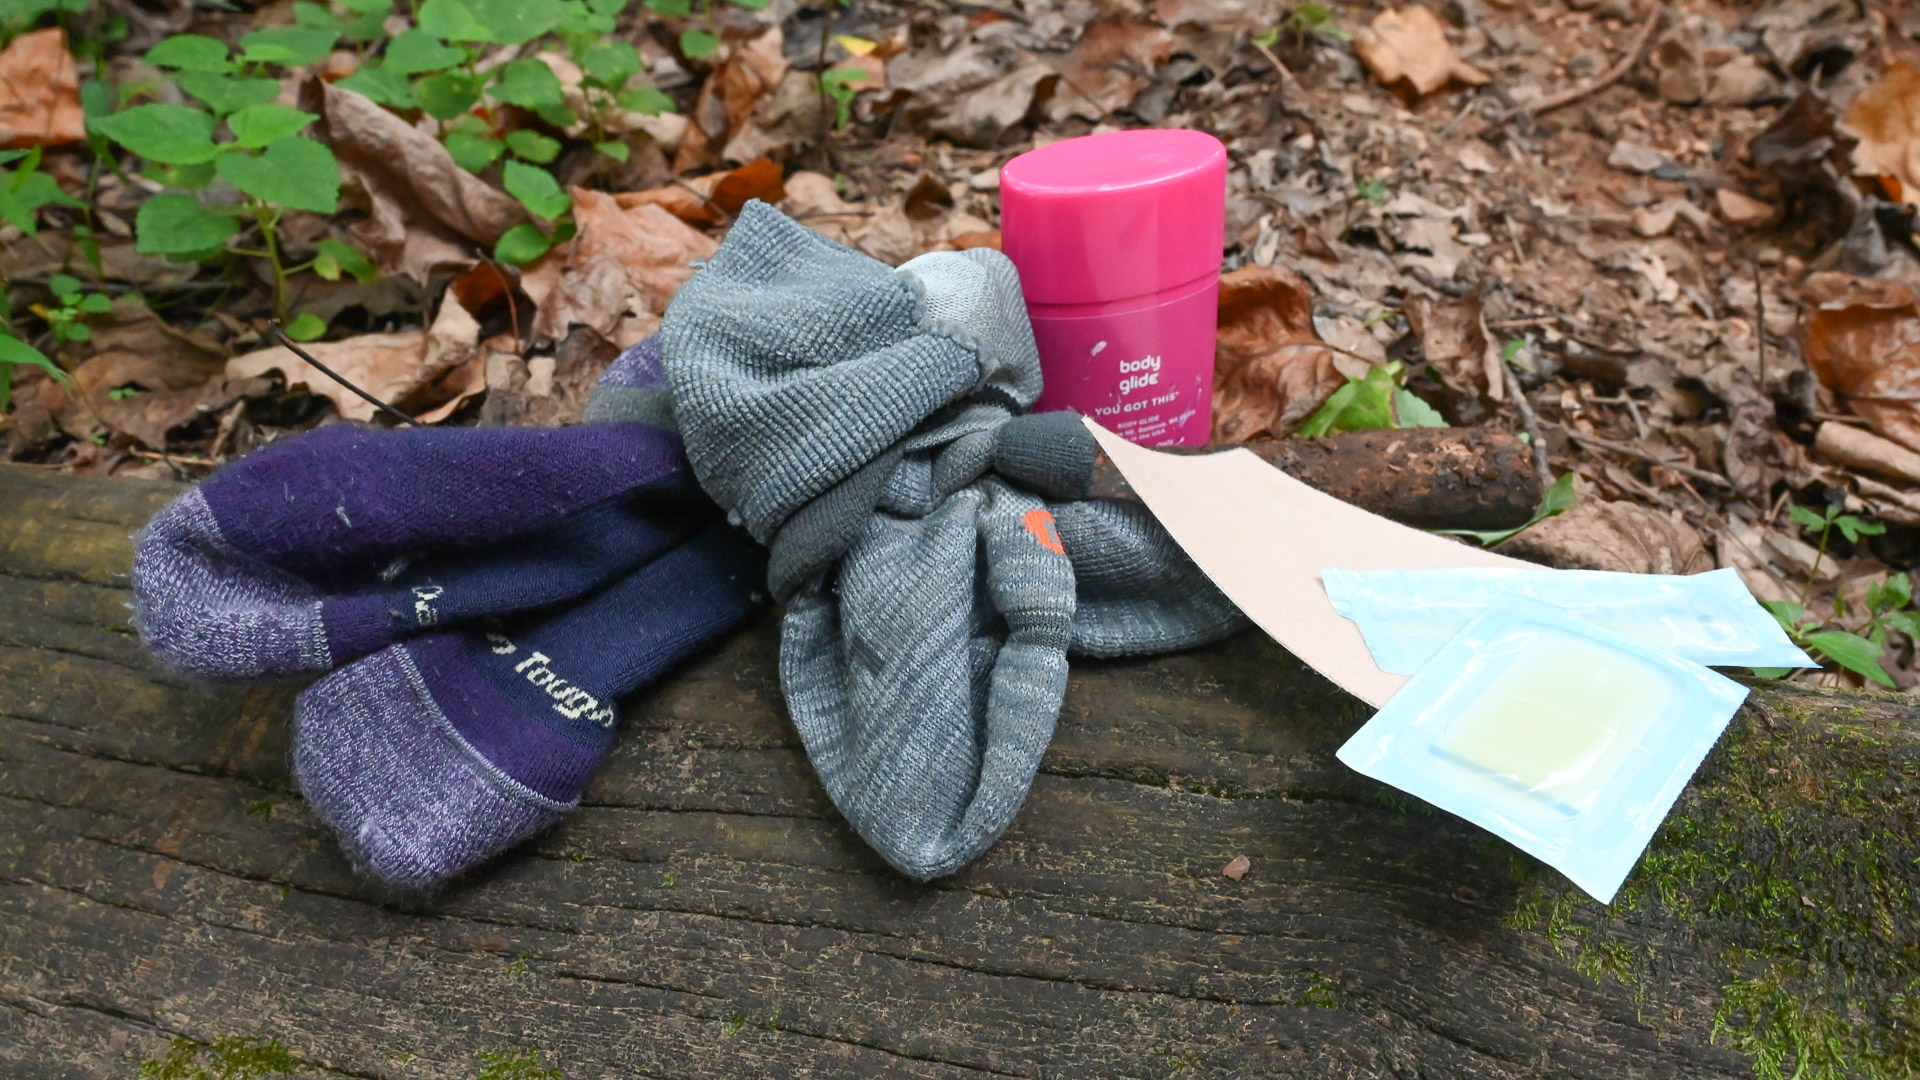
Prevention also means stopping your hike to address any irritated spots right away. A hot spot, or irritated red spot on your foot or heel, will turn into a blister if left untreated. The best care for your hot spot is to stop hiking, take off your shoes and socks, and treat the irritated area with a blister bandage and tape or my favorite remedy, moleskin. Moleskin is a type of bandage that is soft and smooth on the outside area that contacts the sock and sticky on the side that contacts the hot spot. It will decrease the friction between your skin and sock. For longer hikes or those in hot climates, I always cut a piece for my heel and apply it prior to the hike because I know I am prone to blisters on a certain area.

Breaking in hiking shoes and socks is important for the prevention of blisters, but for long hikes or multiday hikes, foot care on the trail is also important. The longer you hike, the higher the chance of swelling in your lower extremities. During breaks or mealtimes, the more you can elevate your feet over your heart, the less of a chance of swelling occurring in your feet and lower legs. The less swelling, the less chance for blisters. Hammocks are a great and comfortable way to elevate your feet on the trail.
The most challenging component of blister prevention is keeping your feet dry. Wet or sweaty feet accelerate blister formation, but keeping feet from sweating during the summer is impossible. Changing into dry socks often will help, as will airing your feet and socks out during breaks and mealtimes. Also, some hikers will use foot powder to soak up excess moisture. I like bringing sandals to slip on for a change in foot pressure as well as getting air to my feet while we are taking breaks.

When hiking in the rain it is especially difficult to keep your feet dry. Not only can your feet sweat inside your shoe, but now you have to worry about water getting in your sock from the outside. If you are hiking in a rainy area, consider a waterproof boot or change into sandals. If you encounter a rainy day while hiking, petroleum jelly or anti-chafe lube like Body Glide will decrease the friction around your foot. However, it will be more important to dry your feet at night and make sure you start the day in dry socks.
Prevention is important for a pain-free hiking experience, but even the most experienced hikers will get a blister or two on occasion. Early treatment of the blister or hot spot is key to healing quickly. If you do happen to develop a blister, try to avoid draining it or the opening could lead to an infection. It’s best to apply foam or a pad around the blister to cushion it, followed by tape or moleskin.

Blisters are caused by heat, moisture and friction. To alleviate blisters, try decreasing one or more elements that cause them. Break in hiking boots and insoles prior to hitting the trail for a more enjoyable hiking experience. Double-check your first-aid kit and make sure it includes moleskin, lubricant, powder, nail clippers or anti-chafe lube to decrease the friction between your foot and footwear. Then get ready to go outside and enjoy nature’s beauty.


