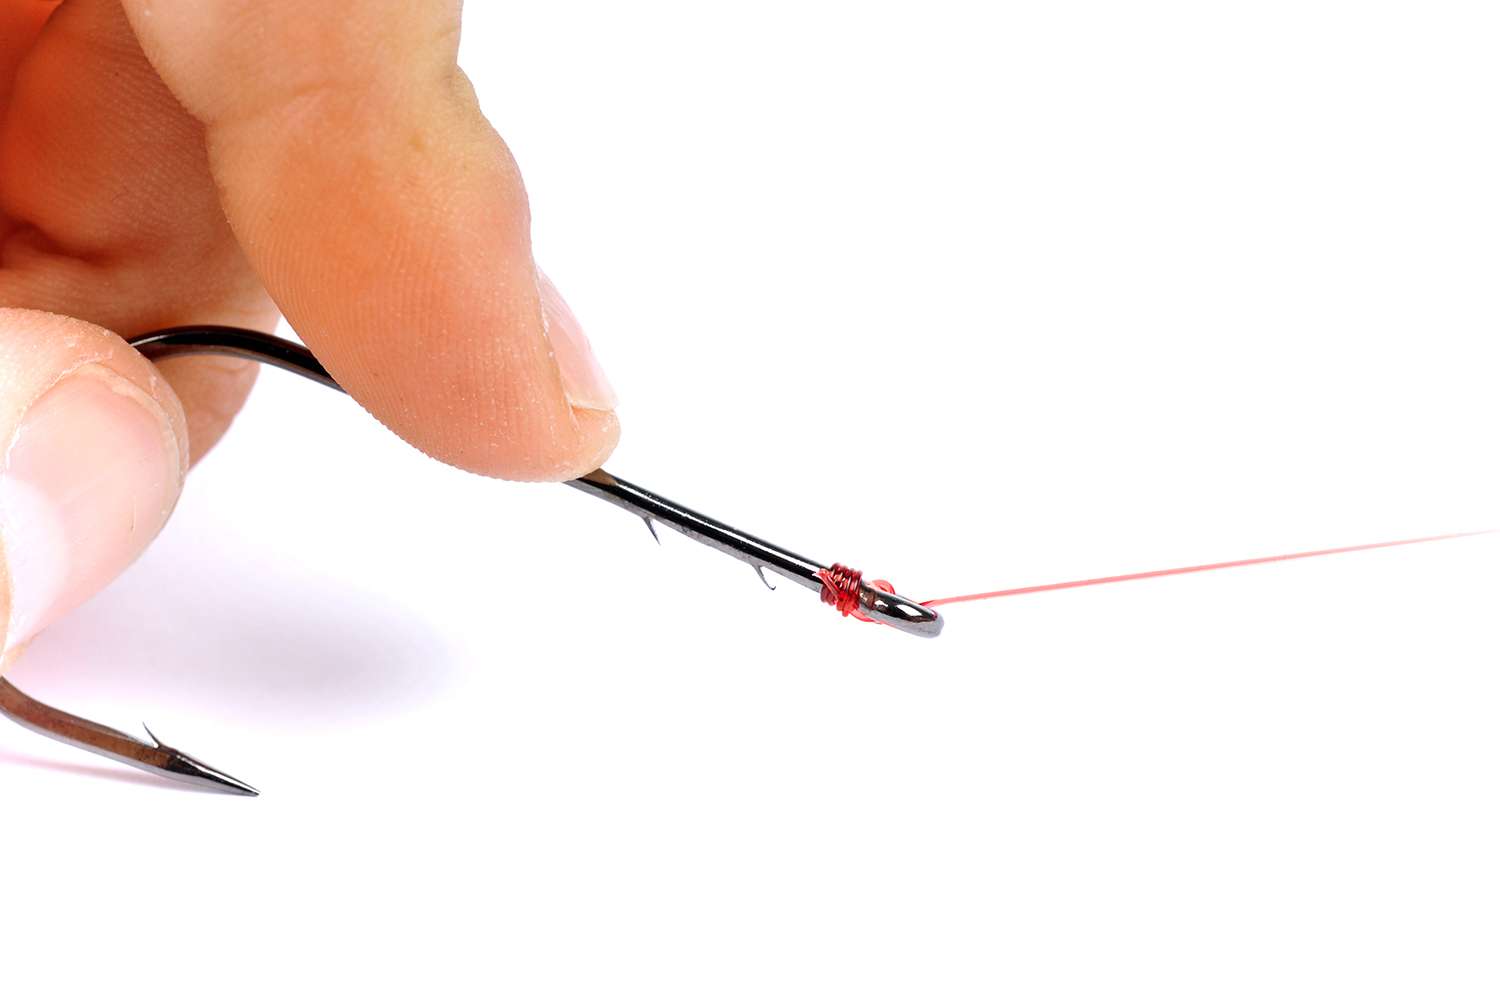
Selecting the right knot for Texas-rigging can be made simple. However, if you fail to tie a strong knot the chances of the fish of a lifetime making it to your boat can be slim to none.
For the purpose of this article we are going to talk about tying simple knots that will work effectively, not only for Texas-rigging, but also for tying on your favorite lure for other techniques.
Palomar knot
One of my favorite all-around fishing knots is the Palomar knot. Before beginning, make sure to have plenty of line slipped through the bullet weight weight. The extra line will be needed while tying this knot.
- Insert your line through the eye of the hook of your choice — around 6 inches.
- Bring the line inserted back through the eye, doubling your line evenly, to create a loop — it is important not to bring the loop you have created back through the eye of the hook.
- Tie a simple overhand knot, between your loop, and both lines. Do not cinch the knot tight, and make sure to avoid twisting the line.
- Bring the end of the loop down, passing it entirely over the hook.
- Wet the knot you have created, to ensure little friction.
- Lastly, pull both ends of the line (main and tag) slowly, allowing the knot to draw to the hook.
- Trim your tag ends and go fish.
The illustration should help demonstrate the how-to of the knot. Despite the knot’s simplicity, this could universally be the strongest and most used knot in fishing.

Improved clinch knot
Widely used with fluorocarbon and monofilament line, the improved clinch knot, sometimes referred to as a “fisherman’s knot,” is simple yet effective. Some anglers avoid the improved clinch knot, when using braided line, due to the possibility of the knot slipping. Doubling the line will often fix the problem.
- Insert your line through the eye of the hook or lure.
- Wrap the tag end up the main line at least five times, I typically go with seven wraps, leave a small opening in the line under your first wrap at the eye of the hook.
- Take the tag end and bring it through the small opening under your first wrap.
- This is the most important step; bring the tag end back through the big loop that is now formed at the top of the knot. This will help avoid the possibility of the knot slipping.
- Wet the line, and slowly pull the tag end tight to cinch the knot.
Remember when using the improved clinch knot, the knot is continuously tightening itself. For this reason, make sure to leave a small-portion of your tag end, when trimming the knot. This leaves room for the knot to naturally tighten without failing.

Snell knot
This knot is nearly exclusive to braided line and a straight-shank flipping hook while fishing heavy cover and grass. When tied correctly, the knot will create a pivot point between the eye of the hook and weight, sending the hook upwards into the fish’s mouth when setting the hook.
- Insert your line through the top of eye of the hook.
- Place your finger on the line against the shank of the hook; bring the line back up away from the hook, parallel, creating a loop.
- Hold your hook and line with your thumb and forefinger, securing the loop that has been formed. Starting just below the eye, begin wrapping your tag end, downward, tight around the main line and the shank of the hook, inserting the line through your loop each time.
- Wrap seven times, until you reach the bait keeper, holding your wraps in place with your thumb.
- After wrapping the line, slowly pull the main line until the knot cinches in place.
This will create the pivot action, making for a perfect hookset into the roof of the fish’s mouth in heavy cover. If you pull tight and the hook goes downward instead of upwards, you have inserted the line through the wrong side of the hook eye. Make sure to place your line through the top of the eye of the hook.

Part 1 | Part 2 | Part 3 | Part 4 | Part 5 | Part 6 | Part 7
Editor’s Note: Are you new to bass fishing? Explore our Bass Fishing for Beginners page to find dozens of tips for new bass anglers.


